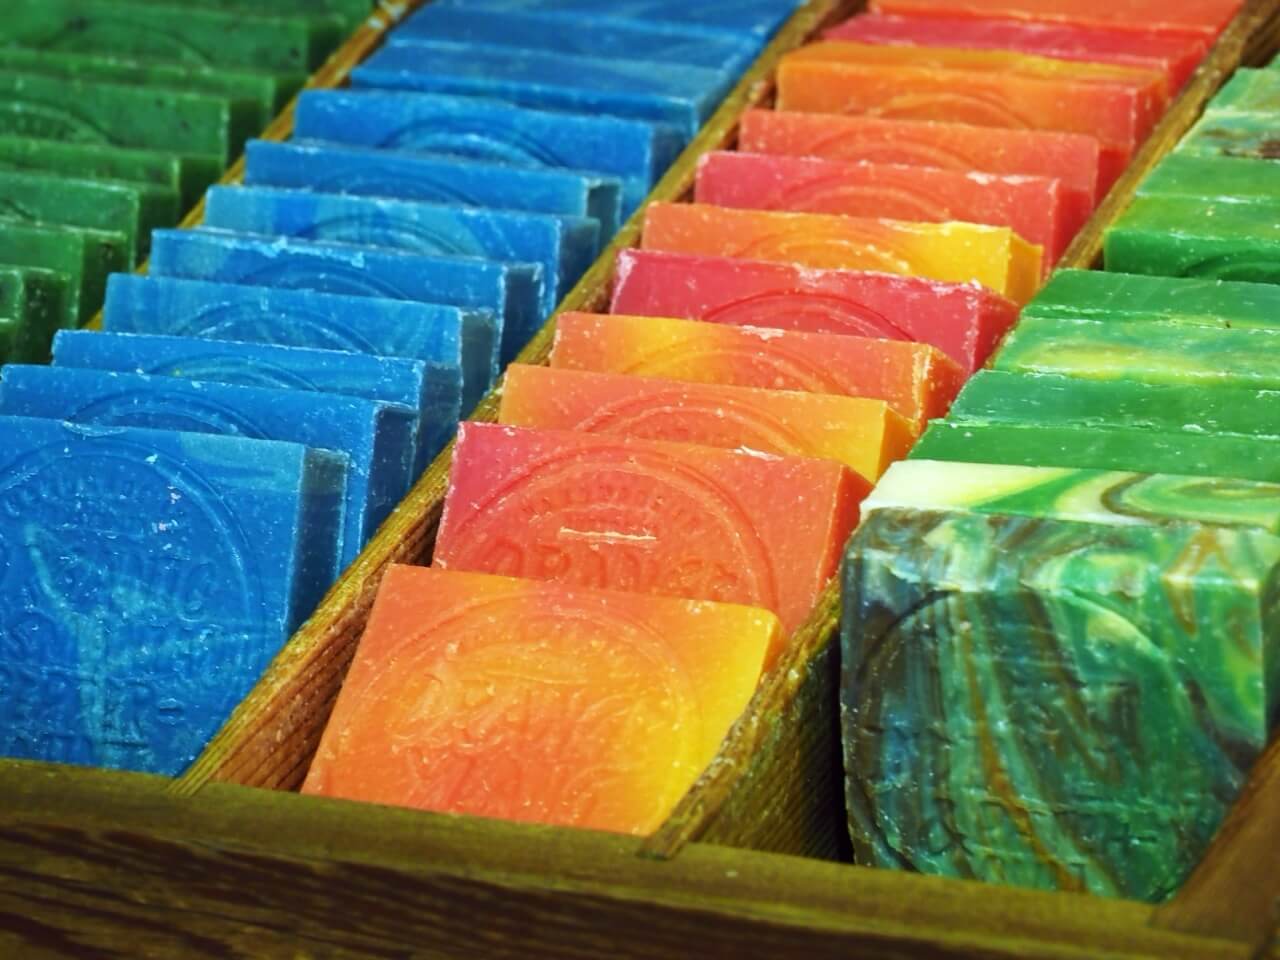
How to keep soap bars clean? About soda ash

Soda ash is a problem known to all beginner soap makers, especially in cold process methods. It’s an unwanted white residue that forms on the surface of the soap bar. It doesn’t pose any danger, but it can be frustrating because the soap doesn’t look the way we wanted it to. How to keep soap bars clean – without soda ash? We have some ways to do it!
How is soda ash formed?
Soda ash is produced mainly as a result of the interaction of free sodium contained in sodium hydroxide with oxygen, various fragrance ingredients (e.g. essential oils), and even heat. Most often soda ash occurs only on the surface of the soap. Only sometimes it penetrates deeper, even to the entire thickness of the bar. It appears within 1-3 days.
Is soda ash dangerous?
Don’t worry – soap with soda ash doesn’t lose its beneficial conditioning or cleansing properties. It’s safe to use. Sometimes, it just becomes slightly more brittle, making it a bit more challenging to use the soap. Otherwise, it’s solely an aesthetic issue. Although not everyone appreciates the white uneven residue, for some soda ash adds a rustic appearance to the soap.

How to remove soda ash from a bar of soap?
Here are some specific and proven methods:
- Clean the soap – immerse the bar in cold water and scrub the areas where soda ash is present. Use a microfiber cloth or smooth-textured paper towel for this purpose. And be sure to wear rubber gloves to avoid leaving oily marks on the soap. This is the simplest method, especially if you’re making soap for personal use.
- Use a soap shaver – this tool comes in handy when you’re making soap in larger quantities, especially for selling. It allows you to precisely slice off soap layers, creating an even, smooth bar. The soap shaver is also useful for removing soda ash layers.
- Use a steamer – another useful gadget for producing a larger number of soap bars is a handheld steamer. With it, you can quickly get rid of unwanted residue. Simply use the steamer from a distance of 5-10 cm away from the soap for 20-30 seconds. This method works best with a thin layer of soda ash. Unfortunately, it might not be as effective with thicker residue.
How to prevent soda ash on soap?
Prevention is better than cure – you know the saying? It also applies to removing soda ash from soap.
Preventing the occurrence of soda ash involves changing the proportions of certain ingredients or gently modifying the soap-making process. First of all, pay attention to the temperature. Make sure the lye and oils are at 100°F or a little more. Pour the soap into the molds when it is closer to medium trace (trace is when your oil, lye and water have mixed together to the point of no return and have created an “emulsion”). After pouring, spray the surface with 99% isopropyl alcohol. Repeat this after 10-15 minutes to create a more durable protective barrier on the soap’s surface. Finally, cover the soap to retain its warmth for as long as possible. If your soap-making area is cold, consider using a heating mat.
If this doesn’t work, reduce the amount of water used in soap production. Subtracting 5-10% from the base quantity could be a good idea. You can also decrease the superfat to 2-4% or avoid using essential oils that accelerate trace (such as clove oil). Instead, choose fragrance oils that slow down this process (e.g., avocado oil and olive oil).
Summary
Soda ash on cold process soap is normal. Don’t consider it a failure! Especially since there are simple ways to remove residue from finished soap and prevent its occurrence. Now that you know them, your soap-making experience can become even better.


