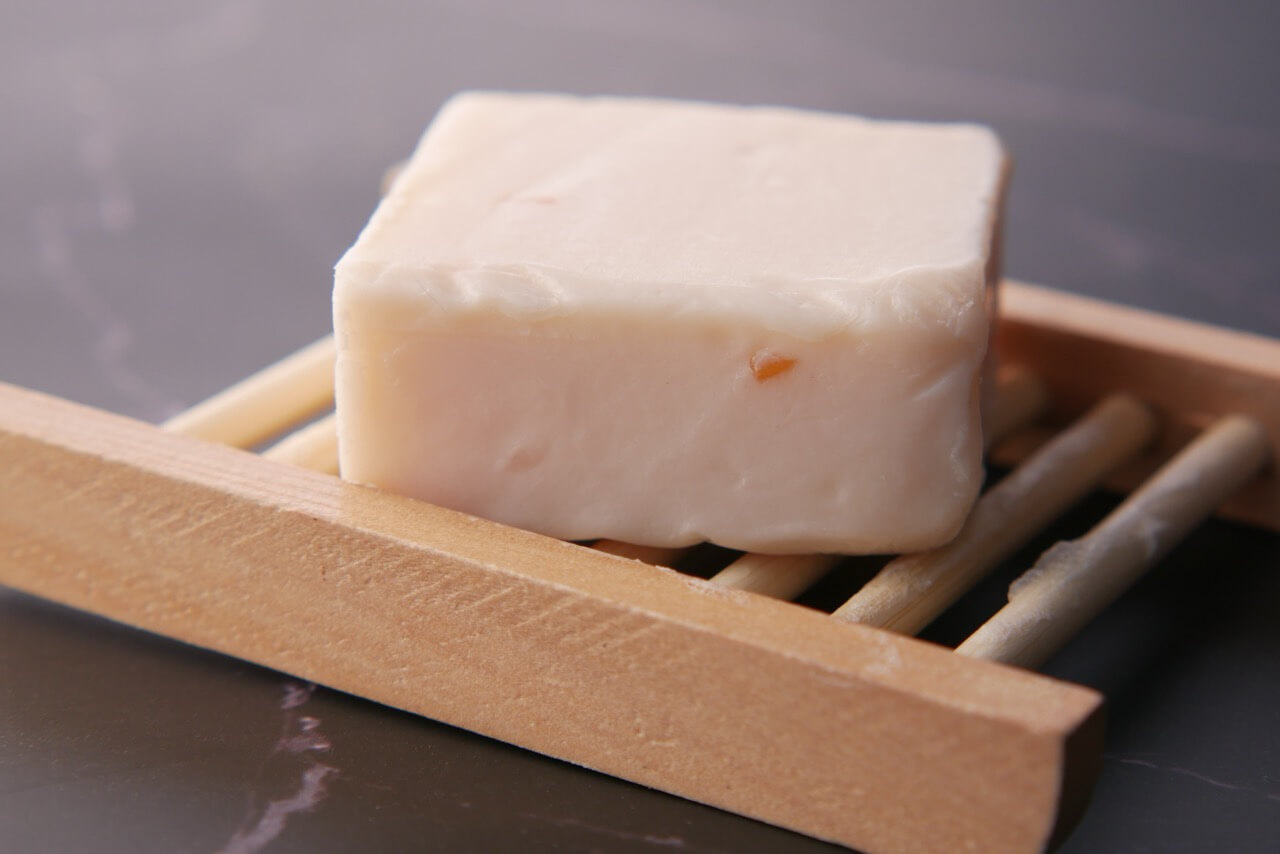
How to store bar soap?

Bar soap can be cheaper and more environmentally friendly than liquid soap. When prepared yourself, using natural ingredients, it takes excellent care of the skin, cleaning and nourishing it. It is often prettier too – decorated with flowers, herbs, or different colors. However, to use the bar comfortably, pleasantly, and efficiently, you need to find out how to store bar soap. Here are some tips that will also come in handy if you are considering switching from liquid to bar soap.
How to store a bar of soap?
Keep it dry between uses
One of the key enemies of bar soap is moisture. When soap sits in a puddle of water, it softens, dissolves more quickly, and becomes less effective. To extend the life of your bar soap, store it in a dry location. Use a soap dish with drainage to allow excess water to escape. You can also pat dry the recently used bar with a paper towel to remove excess water. How to store bar soap in the shower? Regardless of whether you use a bathtub or a shower, forget about leaving the soap in a constantly wet place. Instead, opt for a shelf located above the water stream.
Optimal air circulation
Allowing proper air circulation around your bar soap helps it dry thoroughly between uses. Avoid airtight containers, as they can trap moisture and promote the growth of bacteria. Instead – again – use a soap dish with open slats or a wire rack to ensure that air can circulate around the entire bar, keeping it dry and firm.
Elevate the soap
To further facilitate air circulation and prevent the soap from sitting in residual water, consider elevating the soap dish or just the soap lying in the dish. This can be achieved by placing small objects, such as marbles, pebbles or other bathroom accessories in the bottom of the dish. Elevating the soap also enhances drainage and minimizes the risk of the soap sticking to the dish.
Store in a cold, dry place
Excessive heat can cause bar soap to soften and lose its shape. Store bar soap in a cool, dry place away from direct sunlight. Avoid placing it near radiators, heating vents, or windowsills exposed to intense sunlight, if you want to avoid adverse changes to the color, texture, and even the properties of your soap. A bathroom cabinet will work well.

Use a soap saver
A good place to store bar soap, especially smaller pieces that are inconvenient to use, is a soap saver or pouch made from mesh or natural fibers. These will ensure proper air circulation and create favorable conditions for the soap to dry. Some organic materials may even inhibit the growth of bacteria!
Keep fragrances separate
If you enjoy using different scented soaps, store them separately. Use designated containers or soap savers for each scent. This ensures that each soap maintains its distinct aroma without interference from others.
Rotate your soap
This may not directly apply to the storage of the soap, but is also very important if you want to use the bar as conveniently as possible. If you have multiple bars of soap, rotate their use regularly. By alternating between bars, you can ensure they all have an opportunity to dry thoroughly.
How to store bar soap (long term)?
If you have purchased or made a larger quantity of bar soaps, wrap each of them in material (such as wax paper), place them in a dry, airtight container, and store them in a cabinet to limit exposure to sunlight and light. Make sure, however, that your soap can be stored for a long time. Unfortunately, handmade bars without preservatives can be prone to spoilage. Even some natural ingredients shorten the shelf life of soap. It’s definitely better to use the soap shortly after making it. Consider giving someone a soap gift. 😉
Summary
Now you know how to store soap bars. However, knowledge is not everything. You still need to get into the habit of putting your just-used soap in the right place. Only dryness, airiness and separation from other cosmetics will keep your bar fresh and lasting longer.
And what if the soap starts to look unappealing? You don’t have to throw it away! For minor impurities, simply wash the bar under running water for about 15 seconds. For more significant issues, use a soap shaver or a regular knife to remove a thin layer of soap.
You are on the Soapmakingfriends website – the only knowledge base dedicated to DIY soap making. Explore our recipe database (with over 30 thousand unique recipes!) or browse the magazine for other articles.


